In this series of posts, you’ll learn all you need to manage an eCommerce website made for you by Save Time Web Design.
How to add and change details about your products and services, including text content, images, and video; how to optimise that content as you go, for Search Engines like Google and Bing to present your shop to prospective buyers who are searching for your type of offering.
You’ll find out how the site is set up to handle payments securely – so customers can shop with confidence and so you get paid! (SSL; PayPal and others).
How orders are received and sales fulfilled.
All about shipping – Postage and Packaging, tracked order delivery.
Privacy laws – Cookie Policy – Applying Terms and Conditions to the use of your website, products and services – Returns Policy
Blogging for your business… and much more!
But don’t stress – it’ll be presented in easily digestible parts and you can learn at your own pace. You’ll be able to refer to this knowledgebase at any time and follow the steps; I’ll index each section so you can find what you need quickly. You’ll soon get used to how your website works and develop a workflow that suits you and your business.
To top it all, if you get stuck or need some pointers or advice you can contact Ken at Save Time Web Design via your site’s ‘helpdesk’ link – Submit a ‘ticket’ for prompt support.
Part 1 – tutorial 1
Managing your website.
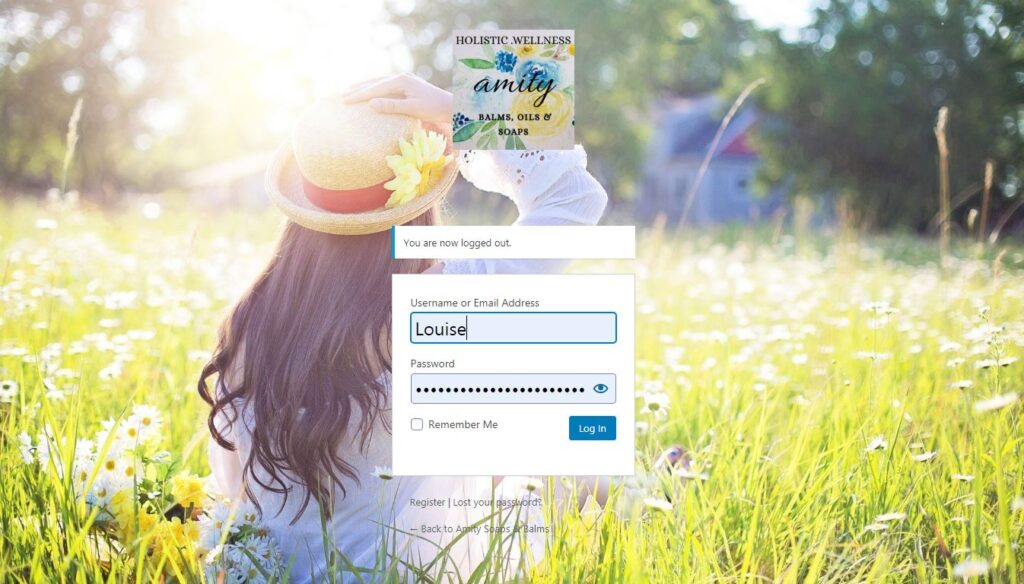
Start on your website’s homepage.
Find the Admin link towards the bottom of the page and click on this to open your Administrator Login Page – this opens in a NEW window and will let you into the control area of your website – the dashboard. The control area is known as the ‘backend’.
Please keep the website open in the previous window – that is referred to as the ‘frontend’ of your website – It’s the shop-front that your prospective customers visit to browse your products and services.
When you make changes to your website from the ‘backend’, you’ll be able to see the changes you make by refreshing the page views on the frontend view in the other window.
Jumping between your website’s backend and frontend views in separate windows is a handy way of working to make changes to your website content and products, and keeping a check on how it looks to your customers.
Your login details – Please keep this information safe and private to prevent any unauthorised access to your website’s inner workings:
PLEASE REFER TO THE MESSAGE SENT TO YOU PRIVATELY FOR YOUR LOGIN CREDENTIALS
Now, login and click around all the menu items and links you find, to explore and become comfortable in the WordPress environment. I have a completely secure copy of your site so you can confidently find your way around without worrying that you might break anything 😉
Here is a screenshot of what you’ll find when you have logged in.
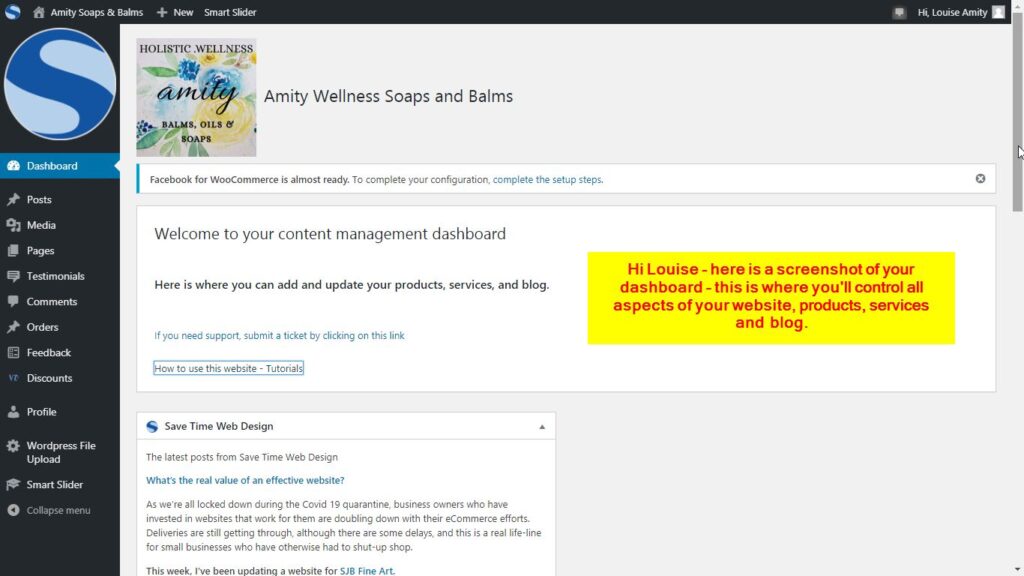
In the following tutorials, you’ll see screenshots that focus on each area to demonstrate how it works.
Q & A
Now you have had the opportunity to explore your website from the customers’ viewpoint – the frontend, and your WordPress dashboard, where you will manage your website – the backend – you can ask any questions by submitting a support request ticket to Ken, HERE.